Guides
Part of Accessible bathrooms how it works: remodel sequence
Accessible Bathrooms Checklist for Homeowners
Use this accessible bathrooms checklist to record clearances, fixture heights, grab-bar placement, seated reach, and details for a safer remodel.
Before a single contractor visits, use this accessible bathrooms checklist with a tape measure and a notebook. The numbers you collect change the conversation, because they turn a vague brief about making it safer into a specification a builder can price. Do it with the person who uses the room, at the time of day they find hardest.
What to take away
- Record clear floor space at each fixture, not room dimensions. The fixtures are what you have to work around.
- Seat and basin heights are the numbers most often wrong and most easily fixed.
- Note which way the door swings and whether it can be reversed. This is often the cheapest single improvement.
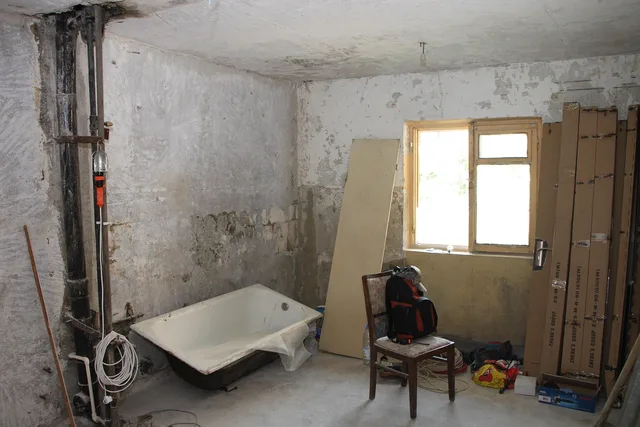
- Photograph everything from the doorway, including the ceiling, before anything is stripped.
What to measure
All figures below are in inches. They are typical ranges, not code minimums. Take every height from the finished floor, with the tape vertical. Subfloor readings run low by the thickness of tile or underlay.
In the U.S., check the locally adopted building code and ANSI/ICC A117.1, Accessible and Usable Buildings and Facilities, for residential criteria; the adopted edition and requirements vary by jurisdiction. The 2010 ADA Standards for Accessible Design apply to covered facilities, not automatically to every private home. The Fair Housing Act’s design and construction requirements apply to covered multifamily housing, and Section 504 of the Rehabilitation Act applies to federally assisted programs. Which rules apply depends on the project and property.
- Doorclear opening with the door at 90 degrees, and which way it swings. The ADA benchmark is at least 32 inches of clear width.
- Clear floor space and turningrecord the usable space at each fixture. ADA benchmarks are a 30-by-48-inch clear floor space and a 60-inch turning circle or compliant T-shaped turning space.
- Toiletheight to the top of the seat, distance from the centerline to the nearest side wall, clear space in front and to each side. Target seat top: 17 to 19 inches. Centerline: 16 to 18 inches from each side wall.
- Basinrim height, and whether there is clear space beneath for knees. Target rim: 32 to 34 inches. An ADA lavatory benchmark is at least 27 inches of knee-clearance height and 30 inches of width, with at least 11 inches of depth at 9 inches above the floor, reducing to at least 8 inches at 27 inches above the floor.
- Grab barscenterline height above the floor, and what is behind the wall to fix into. Target centerline: 33 to 36 inches. A horizontal bar beside the toilet starts 12 inches from the rear wall and runs 36 inches or more.
- Shower or baththreshold or rim height, internal dimensions, control position and reach. ADA shower benchmarks are an inside dimension of at least 36 by 36 inches for a transfer-type shower or 30 by 60 inches for a roll-in shower, with a threshold no higher than 1/2 inch. For a tub, measure its interior and rim, and record the adjacent clear floor space; the ADA benchmark for that space is at least 30 by 60 inches. Tub interior dimensions and rim height still need to suit the person using it.
- Floorany level changes, and where the fall runs
- Wallswhat they are made of, since blocking and fixings depend on it
- Controlslight switch, extractor and shower control positions from a seated reach
- Storagewhere towels and daily items live, and whether they can be reached without standing
Alongside the numbers, write a short account of the sequence somebody actually performs: where they enter, what they hold on the way in, where they put a hand, where they turn. That narrative tells a designer why a bar belongs on one wall rather than the other.
To measure seated reach, sit the person on the toilet or in the chair they use every day. With their back against the backrest, ask them to reach forward and to the side without leaning. Note where the hand lands, then measure the height and the distance out from the body.
Transfer heights: the numbers to aim for
The height of a seat decides whether a transfer works. Get it wrong and somebody who could stand and pivot is lifting their whole weight instead.
The proposed rule on accessible medical diagnostic equipment works from the Access Board's standard: a transfer surface 17 to 25 inches above the floor, adjustable across that range.
Transfer height matters
Transfer surface height range set by federal rulemaking
Applies to medical diagnostic equipment, not homes
Same height question at toilet and shower seat
Measure the person on a chair they transfer from comfortably
Those rules apply to health care providers rather than to your house, but the height question is the same one you are answering at your toilet and your shower seat. The residential band is narrower: most people transfer best to a seat 17 to 19 inches above the floor, which is where a comfort-height toilet already sits.
Measure the person on a chair they transfer from comfortably, and use that number. A shower seat and a toilet seat should sit within an inch or two of it.
Get a professional eye on it once
A clinician's home visit catches what a tape measure cannot: the sequence of movements and where somebody takes weight.
The VA's description of home based primary care covers the model where clinicians assess and treat people in their own homes, where bathroom problems are visible.
Whoever does it, ask for the recommendations in writing, with numbers.
What to do with the list
Split it into what is wrong, what is nearly right, and what is fine. Then take it to the process described in what happens during an accessible bathroom project. If you are surveying the whole house, the room by room version is in our homeowner checklist for universal design.